Get Started in 5 Minutes
Follow this step-by-step guide to expose your local web server to the internet with Tunnelwise.
Step 1: Download & Install
Get Tunnelwise for your macOS architecture
Download Tunnelwise directly from the Download section, open it, and drag it to your Applications folder.
Step 2: Start your local server
Run your local web server
Make sure your local development server is running. You can use any web framework or service - Next.js, React, Vue, Angular, Express, Django, Rails, Laravel, or even a simple Python HTTP server. Here's an example using Next.js:
$ npx create-next-app@latest my-nextjs-app
$ cd my-nextjs-app
$ npm run build && npm start

    ▲ Next.js 15.4.7
    - Local:        http://localhost:3000

  ✓ Starting...
  ✓ Ready in 307ms
Note: Tunnelwise is framework-agnostic and works with any HTTP server running on any port. Whether it's port 3000, 8080, 5000, or any other - just make sure to specify the correct port when creating your tunnel.
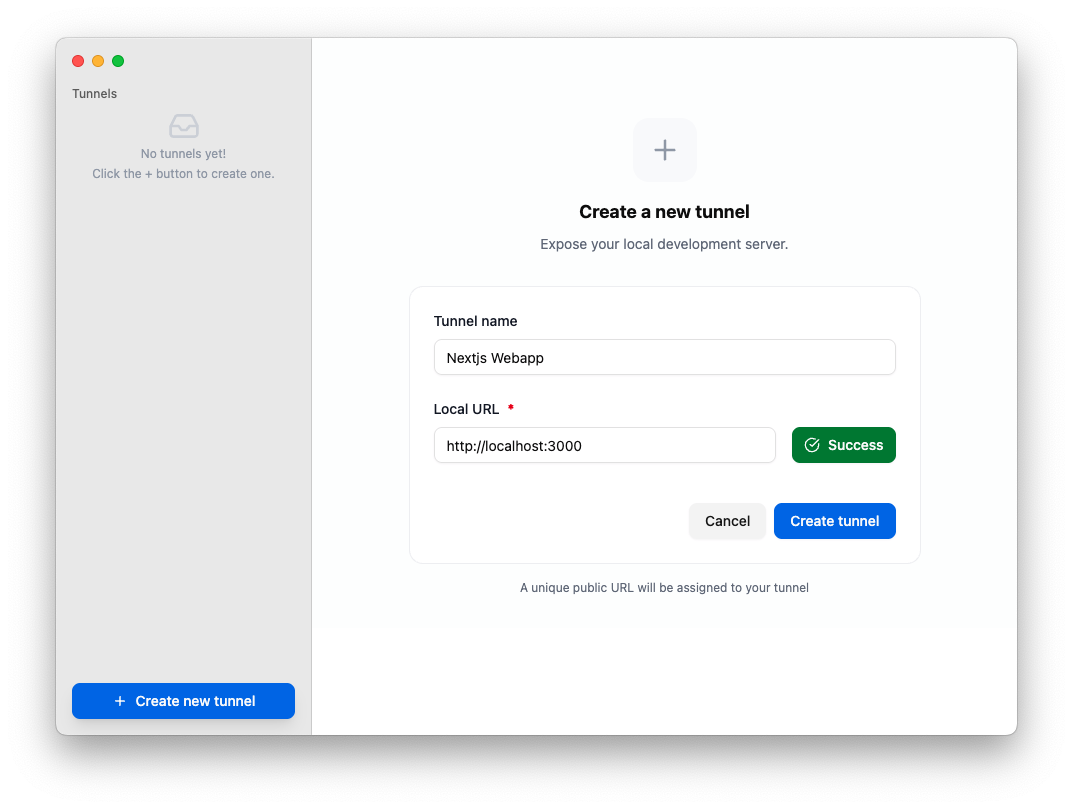
Step 3: Create your first tunnel
Open Tunnelwise and create a new tunnel pointing to http://localhost:3000
Launch Tunnelwise from your Applications folder and create a new tunnel.
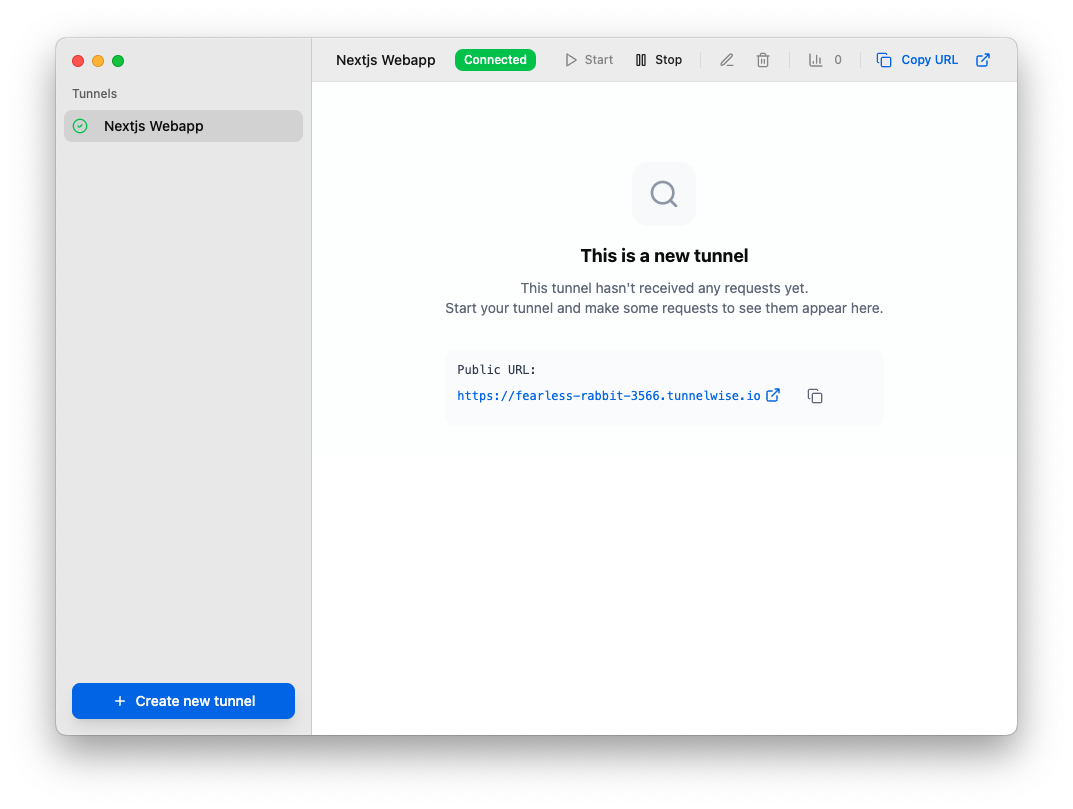
Step 4: Access your public URL
Your local Nextjs application is now live on the Internet!
Tunnelwise will generate a public URL pointing to your local server. Click "Start" to activate your tunnel.
https://your-tunnel.tunnelwise.ioThis URL will remain the same for 5 days of activity
Congratulations! You've successfully created your first tunnel. Your local web application is now accessible from anywhere on the internet. Share the URL with clients, test webhooks, or access it from your mobile device.